Appearance
Configure the Datascaphe Chrome extension
Requirements
Before using the extension, you would need the following :
- An Azure tenant configured with you domain name
- A Power BI tenant with at least one report published in a shared workspace
- An admin account on Datascaphe Uplink
- A report on Datascaphe Uplink synchronized with Power BI with it's Scanner definition set up.
If you have followed the onboarding workflow to the end, you should be all set up.
Install the Chrome extension
The Chrome extension can be installed on any Chromium base browser: Chrome, Edge, Brave, Vivaldi.
It is available on the Chrome Web Store: Datascaphe Uplink Extension
Configure the Chrome extension
1. Datascaphe One-click configuration
The easiest way is to browse the Datascaphe Uplink website, after logging in. You will see on the left of the top menu a button Extension 1-click config.

Click it and the information from your Datascaphe account will be transmitted to the extension. Then sign in the extension (step 2 below).
1-alt. Manually configure the extension
Open the options page of the extension and provide your :
- Account (email)
- Organization code (available in Dashboard/Organization of the backend)
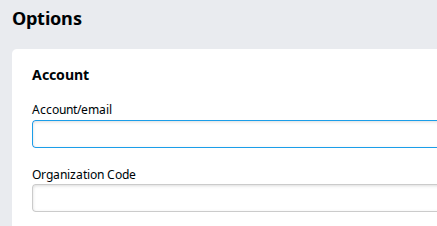
Then click Save at the bottom of the page and sign in the extension (step 2 below).
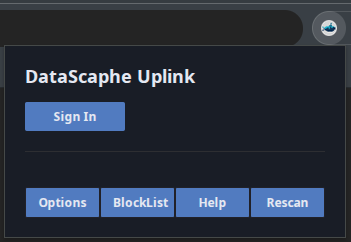
2. Sign in the Datascaphe Uplink Extension
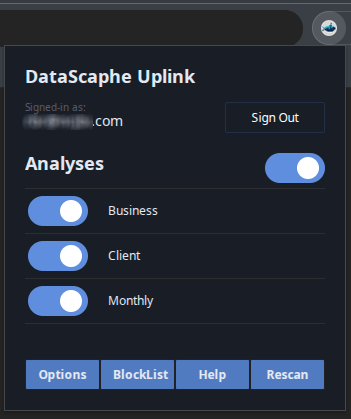
Click on the extension icon in your browser to open the extension popup. Then click Sign in.
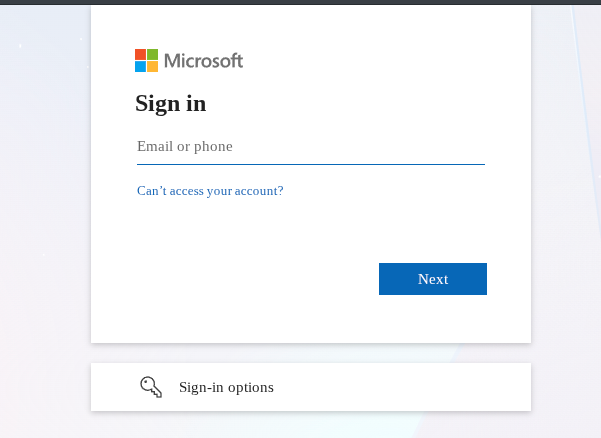
Your browser will open a page presenting the Microsoft account sign-in interface. Provide your Microsoft password and validate.
If the authentication is successful, you should see the analyses from the Scanner Definition.